One of the major pieces of advice we got when we got married (from multiple people) was to make sure you still find time to date. I realize after four years of marriage and huge changes in our life how hard this is!!
Luckily my husband and I decided early on that we would try to go on a weekly date. Some weeks are better than others. Our dates have greatly changed through our marriage. When we were first married we were both in school. Funds were limited and the weekend was really the only time we saw each other. We had to get very creative with our dates. We actually started a blog (Dating Blog) after someone suggested that we put our ideas down somewhere.
After we both graduated we had a brief moment, when I was pregnant with our first child, that we felt like we could actually do traditional dinner and movie dates.
After having one child and another one on the way we have found that babysitters aren't always easy to find. Once again we had to get creative. Now on Friday nights after our daughter is in bed we have an at home date. We try to make it different than the other nights of the week. We take turns with planning the dates. We have now started posting our ideas on the blog that we started when we were first married.
I guess the point of this blog is to encourage you to keep dating :) I know it's hard, but I think the effort even makes a difference. If you want ideas you can check out the links above. I have to warn you some of the ideas seem juvenile. Luckily I have a husband who is a big kid at heart and goes along with my ideas :) I have tried to cater to his interests too, like doing a Harry Potter date and a golfing date.
Happy dating!
Heather
Wednesday, December 11, 2013
Christmas Lights
I know this is a busy time of year! We actually had a free night and wanted to do something fun and festive. We decided to drive around and see the lights. Fun and inexpensive (what we like)! I found this Christmas light scavenger hunt here:
Christmas Light Scavenger Hunt
It gave us something to look for. We even added a little bit to it. Whenever we found one of the items on the list we would get a treat. In our case a few M&Ms. We didn't find everything in one night, but now when we are in the car going somewhere we look for those last items we didn't find. This would be fun for a mutual activity or date night too :)
Thursday, November 21, 2013
The Tooth Fairy Cometh!

She, of course, takes the tooth and leaves $1 for each tooth lost and a Tooth Receipt.
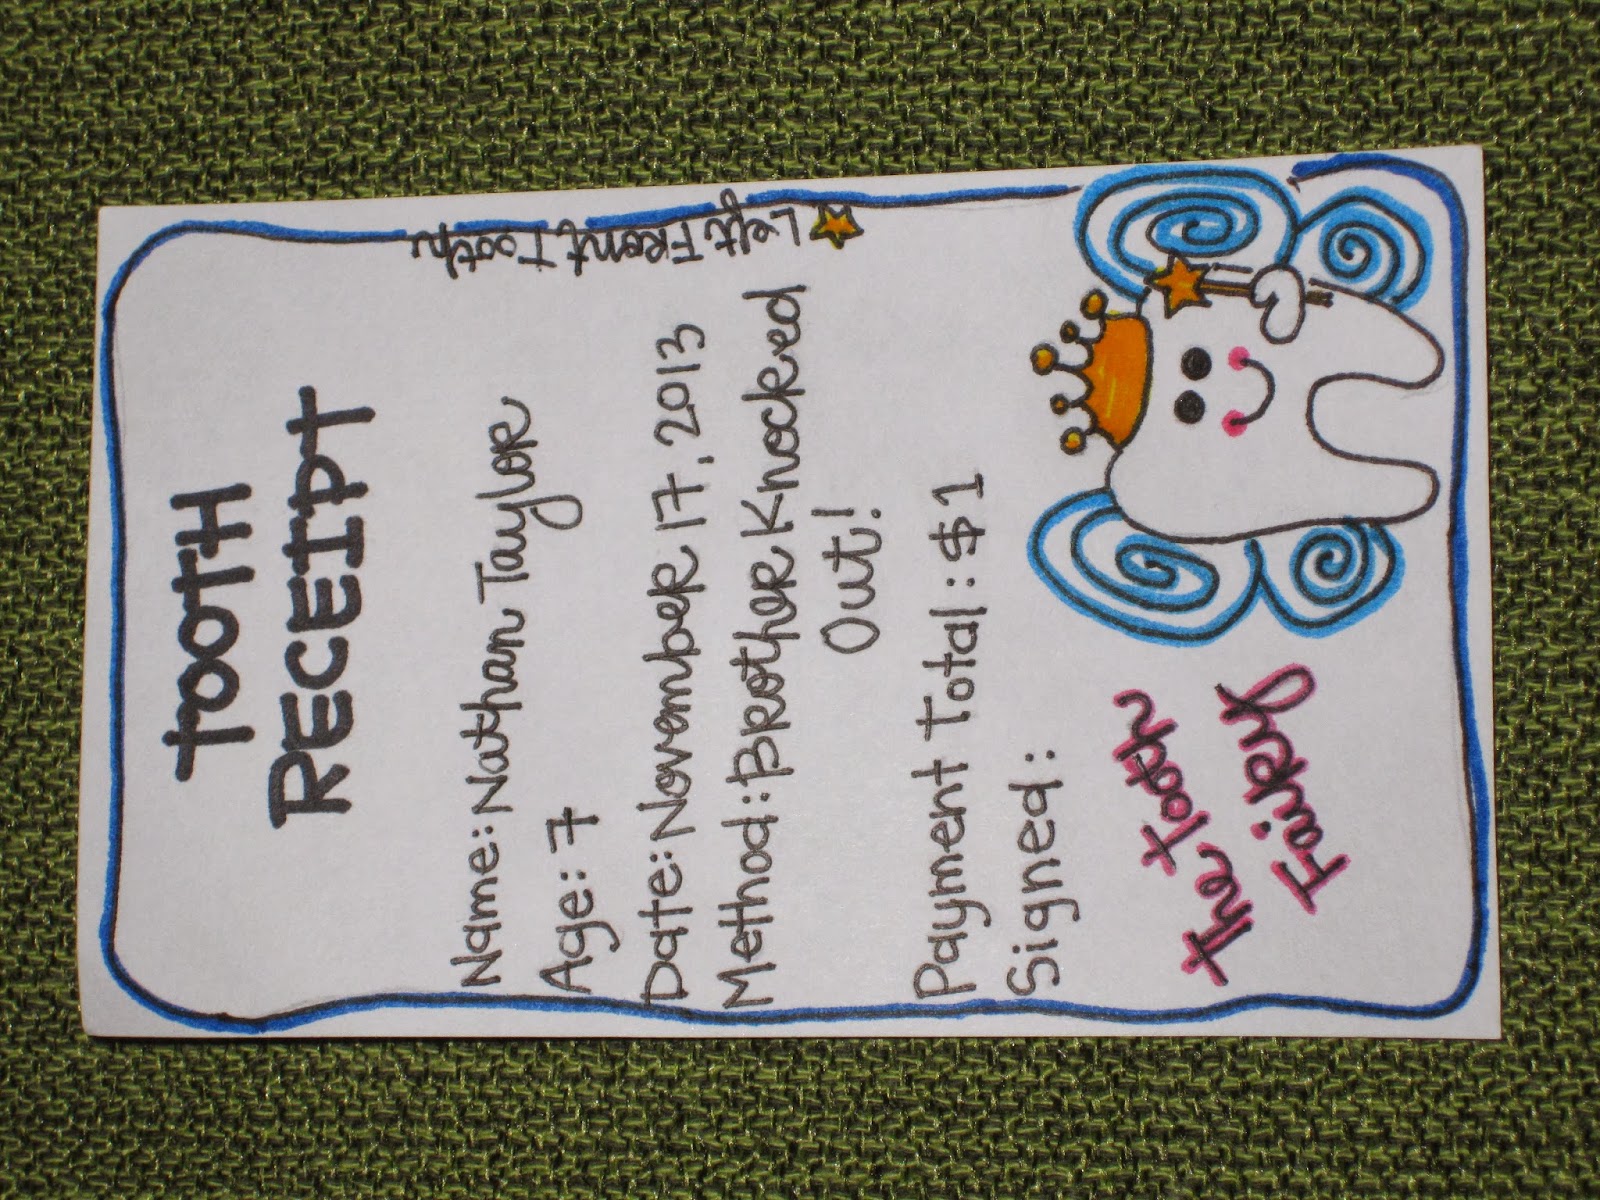
The Tooth Receipt states the name of the child, how old the child is, when the tooth was lost, how the tooth came out, how much the child is paid, what tooth it is, and, of course, is signed by the Tooth Fairy.
The Tooth Fairy also leaves a trail of sparkles/fairy dust!

It has been absolutely hilarious to see how delighted our son has been with this! Of course all he really wants is the money, but he loves the receipts and seems to be a little miffed with the mess of sparkles that is left behind!
(*I cannot take full credit for this idea. I did hop onto the Internet and googled "Tooth Fairy". A picture of this tooth receipt came up and I made my own handmade version. It's been so long that I cannot remember the exact source but thank you to whoever created it; it's been fabulous!)
Sorry about my pictures being sideways! I'll try not to do it again! : )
Pumpkin Chocolate Chip Pancakes

So, with my sneaky plan in order I mixed up a batch.
Pumpkin Pancakes:
2 cups dry pancake mix
1 1/2 cups water
3/4 cup canned pumpkin
1/2 teaspoon cinnamon
1. Spray a frying pan with nonstick cooking spray. Preheat it on the stove on medium.
2. Combine the pancake mix and water in a large bowl. Add pumpkin and cinnamon and stir well. If the batter is too thick, add a little water. If the batter is too thin, add a little pancake mix.
3. Pour a scoop (about 1/4 cup) of batter into the hot frying pan.

When the pancake bubbles on top, it's time to flip it over.

Cook until both sides are golden brown.
4. Serve with bananas, applesauce, or another favorite topping, and enjoy!
Tip: If you don't have dry pancake mix, you can make your own! Stir together these ingredients in place of the pancake mix in the recipe:
1 1/2 cups flour
1/4 cup powdered milk
2 tablespoons sugar
2 teaspoons baking powder
1/2 teaspoon baking soda
1/2 teaspoon salt
Of course this is my personal opinion...they were just okay. My boys didn't seem to fond of them and our little girl liked them the most. I thought they tasted like raw, plain pumpkin.
I didn't give up though, I had to make these work. So, I thought about it and came up with Pumpkin Chocolate Chip Pancakes. I mixed up a batch yesterday and they were a hit!
Just follow the recipe above but with these changes:
When mixing up the batter, instead of 1/2 teaspoon of cinnamon add 1/2 teaspoon of Pumpkin Pie Spice.
Also add 1/2 cup mini chocolate chips. I like to put these in a small bowl and mix them with a little bit of flour. This helps them to stay "floating" in the batter rather than sinking to the bottom of the bowl.
I also like to re-stir the batter before I put a new batch of pancakes into the pan, just to make sure that the chocolate chips are evenly distributed.
Here they are: (even though the picture is sideways)

The kids did find out that there is pumpkin in the pancakes, but it doesn't matter because they snarfed them down! I only have two left and they're hiding in the fridge so I can have them! : )
Just think of all the possibilities for these babies! My kids ate them with maple syrup and loved them. I ate them with some killer homemade butterscotch syrup that my friend gave to me. BUT you could also serve them with buttermilk syrup...what about warm with a scoop of vanilla or cinnamon ice cream...you could also do a stack of three with whipped cream between each layer...you could do chocolate sauce...what about sugared or caramelized pecans...oh, the possibilities!
Maybe this year you can have a Thanksgiving pancake feast for breakfast!
What do you do with this leftover canned pumpkin? I measured mine out in 3/4 cup increments and put them in little freezer bags and threw them in the freezer. That way the next time I want to mix up a batch, I can just thaw the portion that I need!
A Lesson in Gratitude

Often when we think of Thanksgiving thoughts go right to the fabulous feast that we often partake of and its delicious components - turkey, mashed potatoes, rolls, pie...Mmmmm! But more importantly we should be thinking of those things that we have been blessed with that we are thankful for. There are so many around us and far away that are not blessed with the great prosperity and abundance of things that we are in this great country, so I figured it would be a good idea to remind ourselves of what we have and how grateful we should be. Thus, the Gratitude Chain was born.
I took sheets of construction paper - red, orange, yellow and brown - and cut it into fairly thin strips.
We then sat down at the kitchen table and had a small discussion about Thanksgiving and what it means and why we celebrate it. I explained that we were going to write things that we are thankful for on each strip of paper and then make a chain and hang it up where we could see it, and daily be reminded of all of the things that we are thankful for.
I have to say that I was quite surprised with some of the things that our kids mentioned. As a disclaimer, we have two boys and a girl, ages 7 1/2, almost 5 and 19 months. As I expected we had a large number of silly things such as:


Once we filled out all of the slips of paper we took each one and stapled the ends together, looping them through each other, creating a chain. We then hung it in the kitchen along the wall so we can see it throughout the day. All of our kids have often mentioned something about it while we're sitting and eating, or our little one - who refuses to speak, whom I affectionately refer to as "Grunt"! - will stop and stare at it and point to it; I am convinced that she knows what it signifies.
What a wonderful lesson this turned out to be for me. Not only is it always a good thing to stop and reflect on all of the things that we have, but, I think, that I am even more grateful for the fact that my children recognize the things that are truly important.
Sunday, November 3, 2013
Halloween Science Experiments for Kids
Student teaching allows me to observe/ participate in fun science experiments. This year for my 3rd grade class's Halloween party the class did four different science experiments. As teachers we gave the experiments Halloween names, but they could be done anytime of year. The experiment are simple and mostly use ingredients you have around your house.
Wednesday, October 16, 2013
Halloween fun

I love holidays.
When my children were little once a month we would take down the
decorations for the holiday that had just passed and put up our decorations for
the holiday coming. This was a fun
family activity and helped the children sense the passage of time.
Like many of you one of my favorite holidays is
Halloween. I love
trick-or-treating. I loved taking the children
around the neighborhood. It was a great
way for me to see and meet many of the neighbors. My children loved it when I would go with
them. One year dad took them out
trick-or-treating. He went around the
circle and came home. Then our children asked
me if I would take them back out.
Although I have heard them say they had to beg me to go home and I would
say, “just one more house”.
Here are a couple of games and some ideas that are easy,
simple, and have made for fun traditions in our home.
Spider Hide N’ Seek
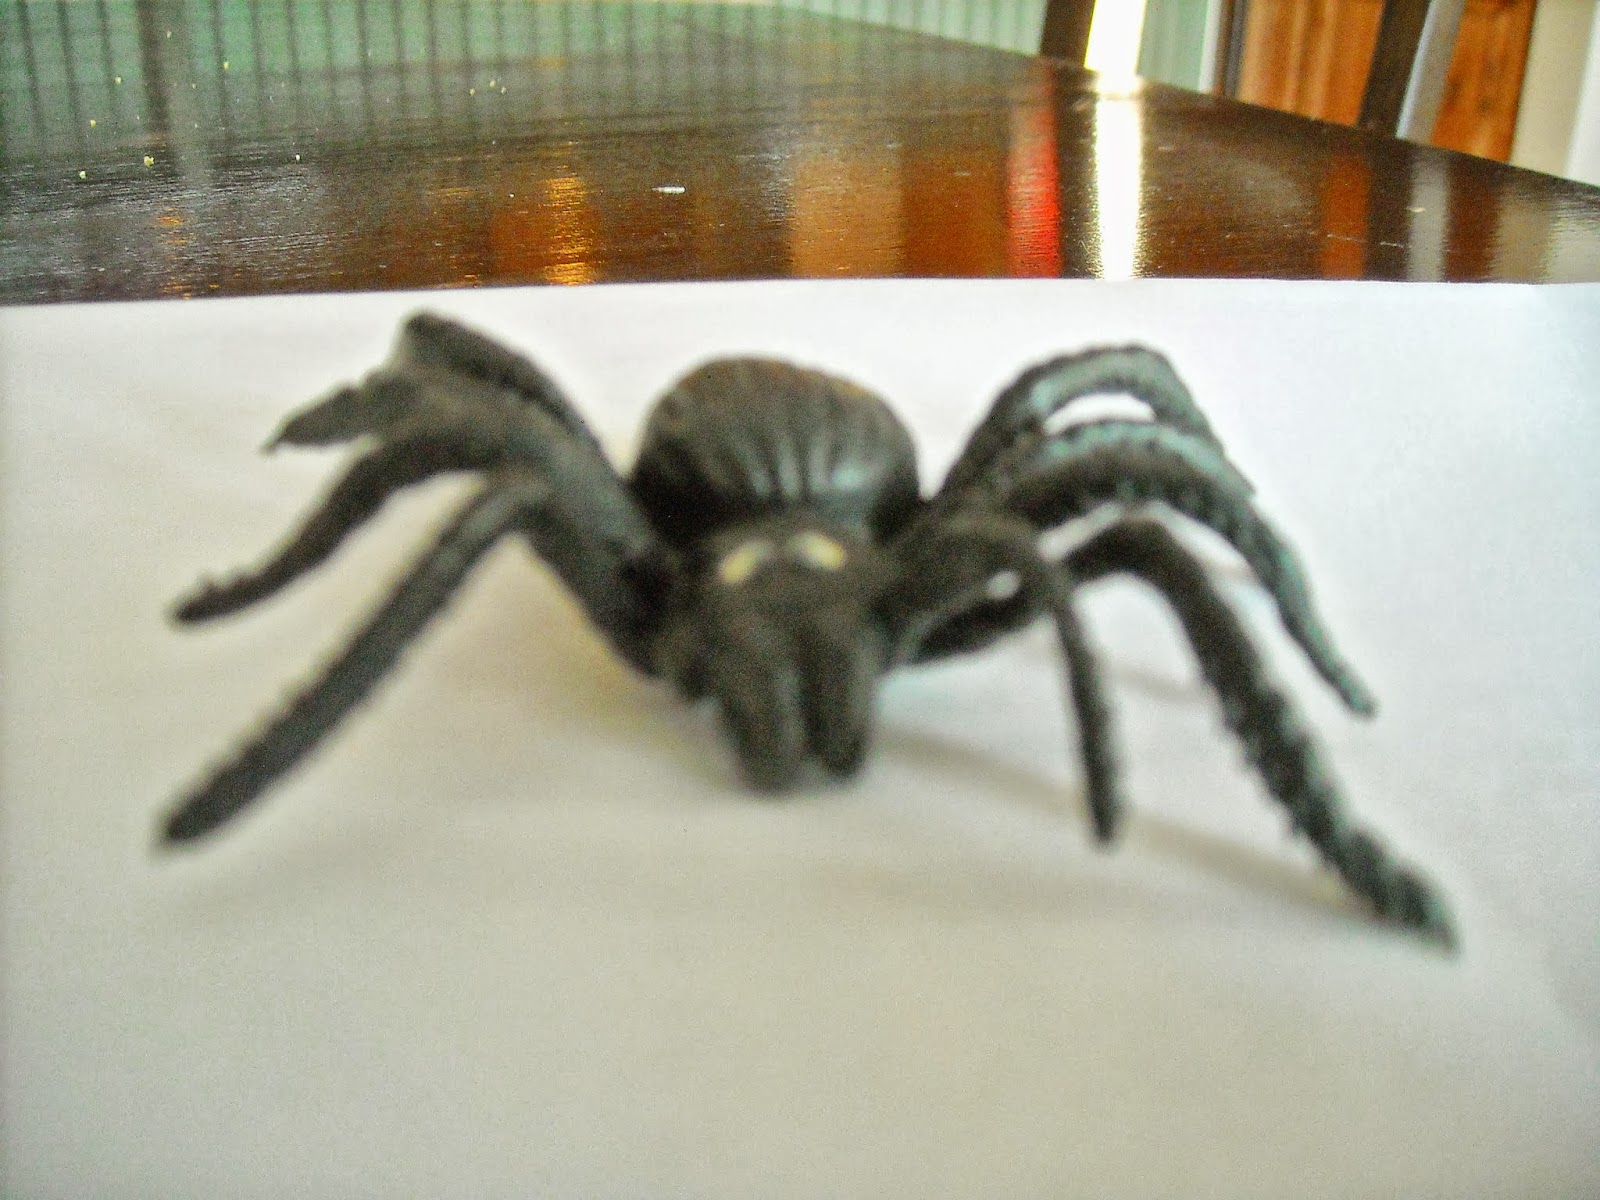 One year someone gave us a rubber spider. I didn’t know what to do with it so I started
hiding it for the children to find.
Pretty soon we had a game. Every
year when we pulled out the Halloween decorations I hid the spider first. Then the game began. Whoever found the spider
hid it next.
One year someone gave us a rubber spider. I didn’t know what to do with it so I started
hiding it for the children to find.
Pretty soon we had a game. Every
year when we pulled out the Halloween decorations I hid the spider first. Then the game began. Whoever found the spider
hid it next.
Spider Hide N’ Seek
At first we had only one rule. It had to be in plain sight. As the children grew this rule morphed into
you had to be able to see at least part of the spider. We also added another rule. If you hide the spider and it hasn’t been
found in two days you needed to hide it in a more obvious spot. This kept the spider moving and gave everyone
a chance.
I now hide the spider and my grandchildren love to come
over and play spider hide n’ seek.
Witch’s Brew
We created this game for a family activity. The family sits in a circle. One person is “it” and they stand in the
center of the circle. Each person in the
family is given a name of something relating to Halloween like: witch, ghost,
bat, pumpkin, etc. The person in the
center calls out a name or two and they have to switch places. The person left standing is now “it”. Once in a while the person who is “it” will
call out, “Witch’s brew”, at which time everyone sitting has to change where
they are. It is a lot of fun, gets
everyone moving, and the faster you go the wilder the game can become.
Grilled Cheese Jack-o-Lanterns

Another thing we enjoy doing during October is to eat
things that are Halloween themed. You
can have dinner where everything is orange, black, green, and/or purple
(Halloween colors). We love making and
eating grilled cheese jack-o-lanterns.
These are very easy to do. The
bread is easier to carve if it is frozen.
Take a piece of bread and put a layer of cheese on top. Take another piece of bread and carve out a
face using a knife. Put the carved bread
on top of the cheese and grill. Don’t
forget to put oil or butter on the bread or in the pan so the sandwich won’t
stick. It puts a new twist on a classic dish.
You can do this with tortillas and have Halloween
quesadillas. You can change the face or add
ingredients to your sandwich. Just
experiment and have fun with it.
Halloween mini pizzas
Halloween is a great time to let your children create
their own Halloween monster pizza. For
the crust you can make your own dough or use refrigerator biscuits, English
muffins, tortillas, or whatever you would like.
Then we put on sauce. The sauce
can be anything from a jar of spaghetti sauce to making your own (see simple
recipe below). If you are making a mummy
or ghost use a jar of white Alfredo sauce and any white cheese of your choice
for the base. Then let your children have fun making a pumpkin, witch, ghost,
vampire, mummy, whatever they want. Let
their imagination run wild. Use
pepperoni, sausage, tomatoes, olives, mushrooms, green pepper, and other
toppings you can think to make the face.
You can cut the topping ingredients to different shapes or use as they
are. Bake it as directed on your dough
recipe. If using English muffins or tortillas usually baking in a 350 degree
oven for 5 minutes will do it. You’ll
know it’s done if the crust is brown and cheese melted to your liking.
Simple pizza/spaghetti sauce recipe:
1 15 ounce tomato sauce
1 teaspoon oregano
1 teaspoon basil
½ teaspoon garlic powder
½ teaspoon onion powder
½ teaspoon salt
¼ teaspoon sugar
Combine ingredients in a saucepan. Bring to a boil over medium heat. Boil for a few minutes to allow the spices to
combine their flavors. You have a great,
simple sauce.

 Carving Pumpkins
Jan
Monday, October 7, 2013
Conference Activities for a Two Year Old
I know this post is a little late, but hopefully it will
help in the future. I love conference weekend!! It has always been my favorite
times of year. I always feel a renewed effort to be better. I’ve been lucky up
until this conference to have a little girl whose naptime was during conference.
As I thought of conference this time and my very active two year old I wondered
what I was going to do to help us all enjoy conference a little more.
I first went to the internet and our old Friend magazines. I was overwhelmed with
all the ideas that I found! The ideas ranged from little time to prepare to
taking until next conference to prepare. I found this really cute idea in the Friend where the family took a family
night and talked about King Benjamin and how the people faced their tents
towards the temple to listen to the prophet. The following weekend when they
listened to conference they built a tent and listened to conference in their
tent. I loved the idea, but knew it wouldn’t last long for our little gal.
I found another idea that I loved too!! You take different
buckets and fill them with treats and on the buckets you put words like faith,
family, temple, etc. Every time someone talked about the word on the bucket you
got to go get a treat out of the bucket. I loved this idea because who doesn’t
love treats during conference. I then thought of my rowdy two year old after
the first five speakers in the first session and thought all that sugar would
not be good by day two hour 6 ½ of
conference.
We found something that was simple to prepare and kept
little Tay happy and busy so we could actually listen to conference. First we
tackled the snacks. Normally I would have totally made our favorite treats and
we would have snacked on that, but I wasn’t feeling up to it. So I bought some
of Tay’s favorites that I rarely buy (fruit snacks, goldfish, M&Ms, and
caramel popcorn). We would bust out a snack at the intermediate hymn of each
session.
To keep Tay busy Ty and I prepared little activities that
she could do during the different speakers. (This is what we did for date
night. I told myself it didn’t matter what we did as long as we did it together
and that it wasn’t just me putting it off J
) We took the May Ensign and cut out
the pictures of the First Presidency and the Quorum of the Twelve Apostles. We
put each picture on it’s own sticky note as you can see below. On the back of
each sticky note we put something different Tay could do. We put the sticky
notes near our TV. As a new speaker spoke Tay would go over and find the
speaker. She then got to do the activity on the back.

I loved this for so many reasons. It helped Taylor to learn
the Apostles and the First Presidency. It kept her busy. We got to listen to
conference!
The activities we had on the back of the sticky notes were: paint
toes, build a fort, color (you can get lds coloring pages here https://www.lds.org/general-conference/children?lang=eng
) , there was also a matching game that we had Tay play on that website, play
with stuffed animals, play with Mom’s bracelets, play with Dad’s wallet, look
at Friend magazines, build a temple
out of Duplos/Legos, play with dishes, do puzzles……I can’t remember the rest!!
There were four more. If I think of them I’ll add them in comments below.
Heather
Welcome!
Hopefully this is a place where we can get good ideas and share them. This way we actually have a way of sharing recipes and ideas without having to write out or print a million copies too. The only suggestion I have is that at the end of the post you write your name so we know who posted it and who to ask questions to. I can't wait to see all of your great ideas :)
Heather
Heather
Subscribe to:
Comments (Atom)